
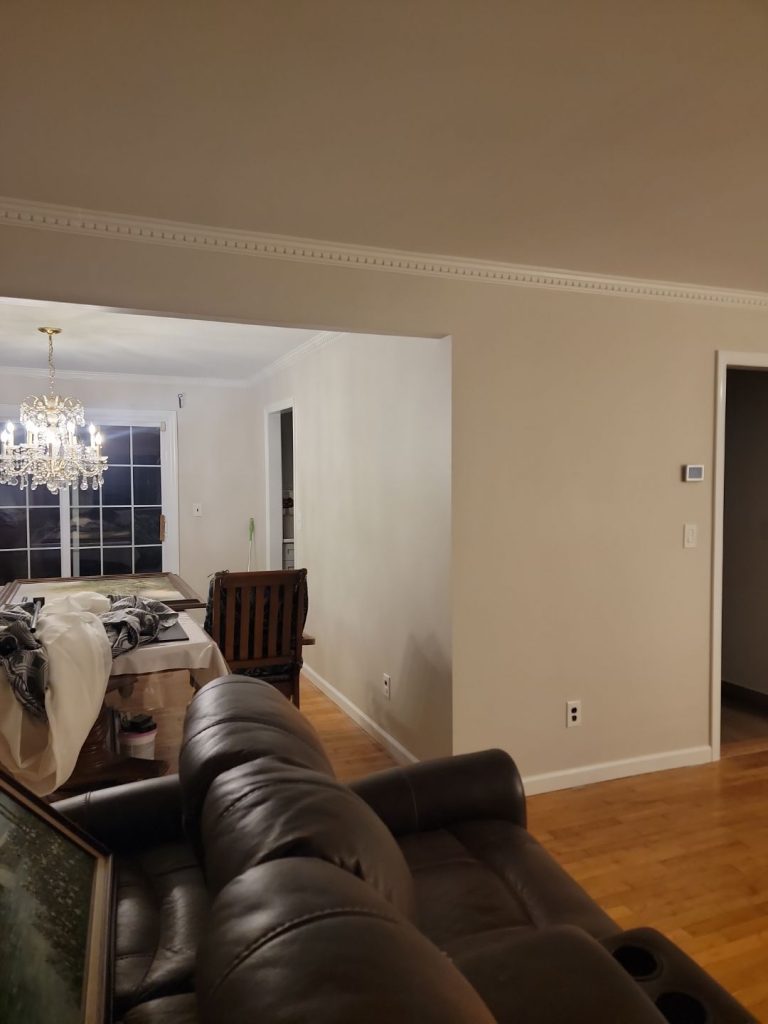
Home Interior Painting in New City, NY | Project Case Study
Project Type: Interior Painting & Surface Restoration, for a Home in New City, NY
Location: New City, New York
Service: Painting, Wall Preparation, Repairing Patching & Finishing the Trim
Project Focus: Fixing failing wall surfaces, tidying up window and door areas, and creating an interior that feels cohesive and polished
A fresh coat of paint can completely transform the vibe of a room, and that’s especially true when it’s a whole interior makeover like this one in New City, New York. But the truth is, on this recent project, paint was the last piece of the puzzle that really mattered.
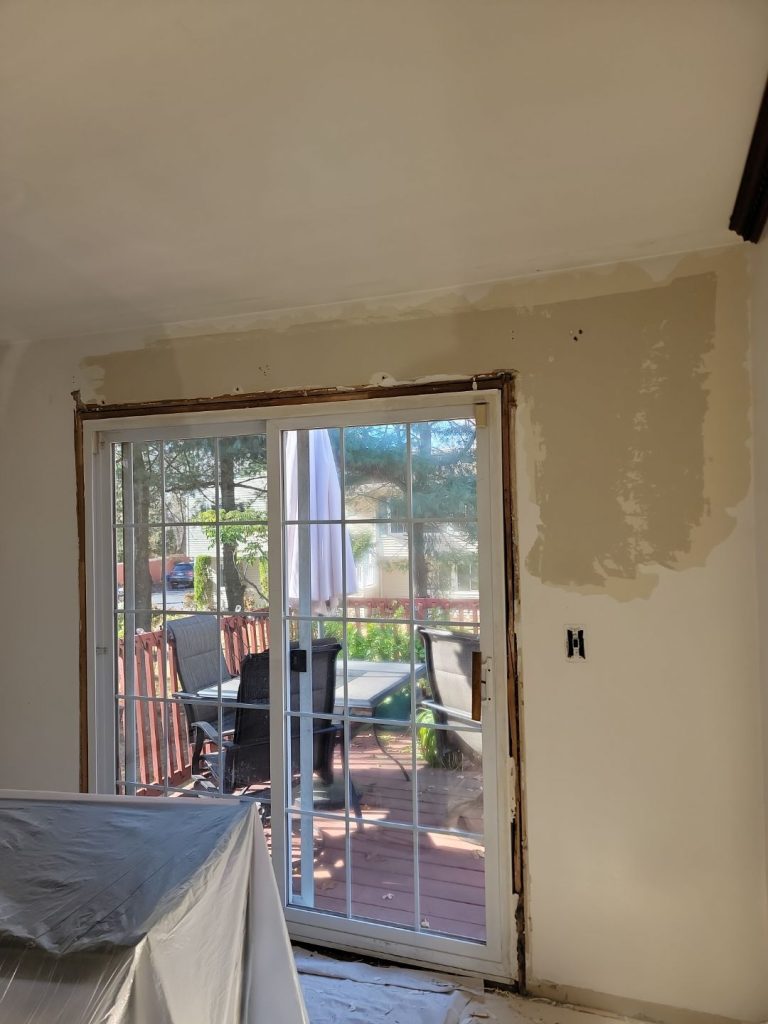
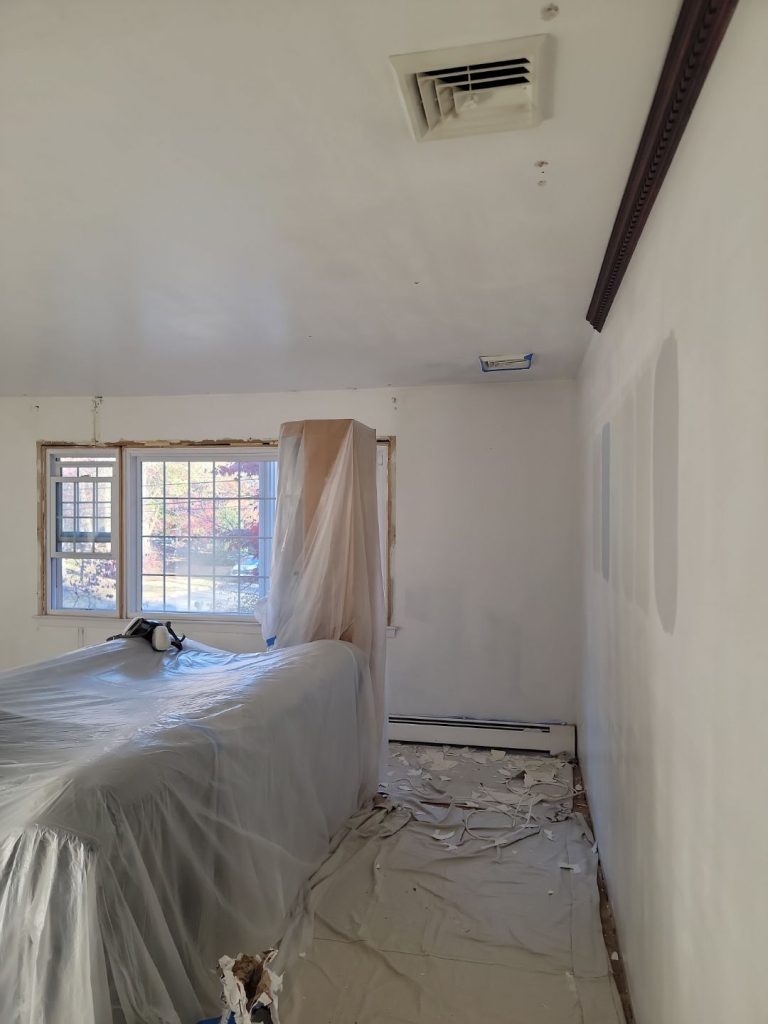
The before and during photos show the extent of the problem.
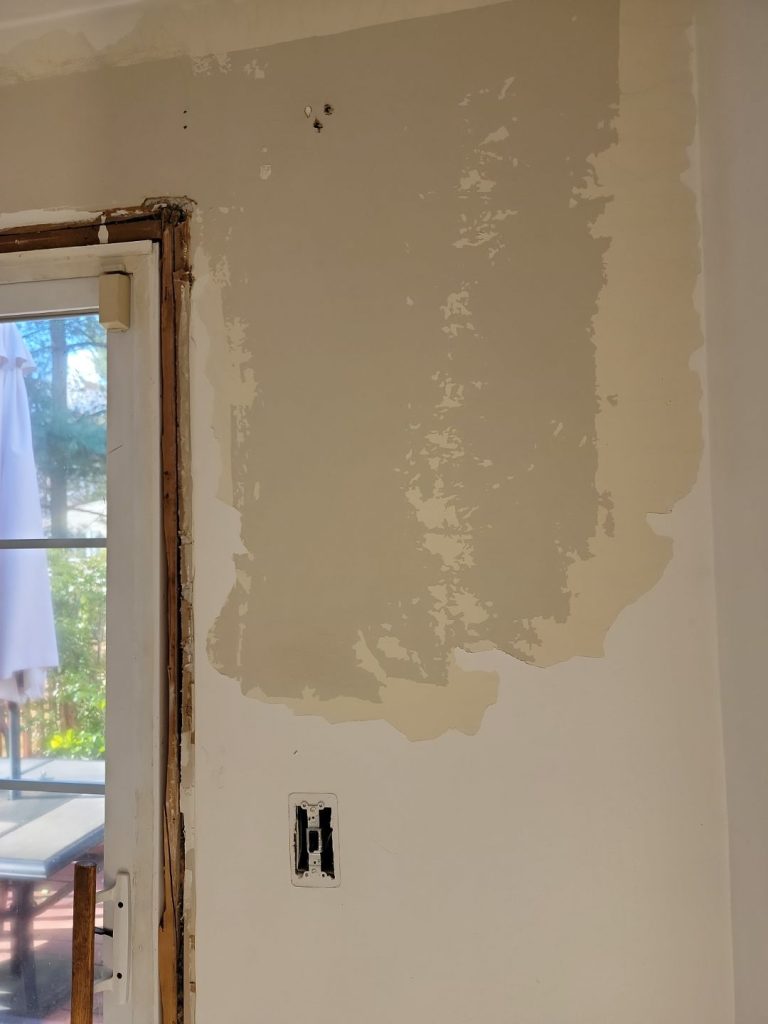
The existing wall coating was peeling off in huge sheets in some spots, and windows and doorways had ugly, unfinished edges and transitions. We couldn’t just slap on a new coat of paint – no way. The old stuff had to be removed before we could even consider doing anything else. Several rooms needed patching, sanding, covering, and major preparation before the paint was even an option.
This turned out to be more of a surface-reset project than a simple repaint.
What You Can’t See Is What Really Matters

At first glance, the house already had light-colored walls, so a bold new color scheme wasn’t on the cards.
The condition of the walls was the real issue.
Around the windows and sliding doors, big chunks of the existing finish had broken down badly to the point where they were peeling off the wall in flakes. And in other areas, when we took out the old trim, we were left with raw edges that would have looked unfinished if we’d just painted around them.
And then there were the holes, uneven transitions, and bits of wall repair that dotted the landscape.
That completely changed the way we approached the project.
Instead of asking the usual “What color should we paint this room?” question, we started thinking, “How do we get these walls in shape so the new paint will actually look good?”
Step One: Rip Out What’s No Longer Working
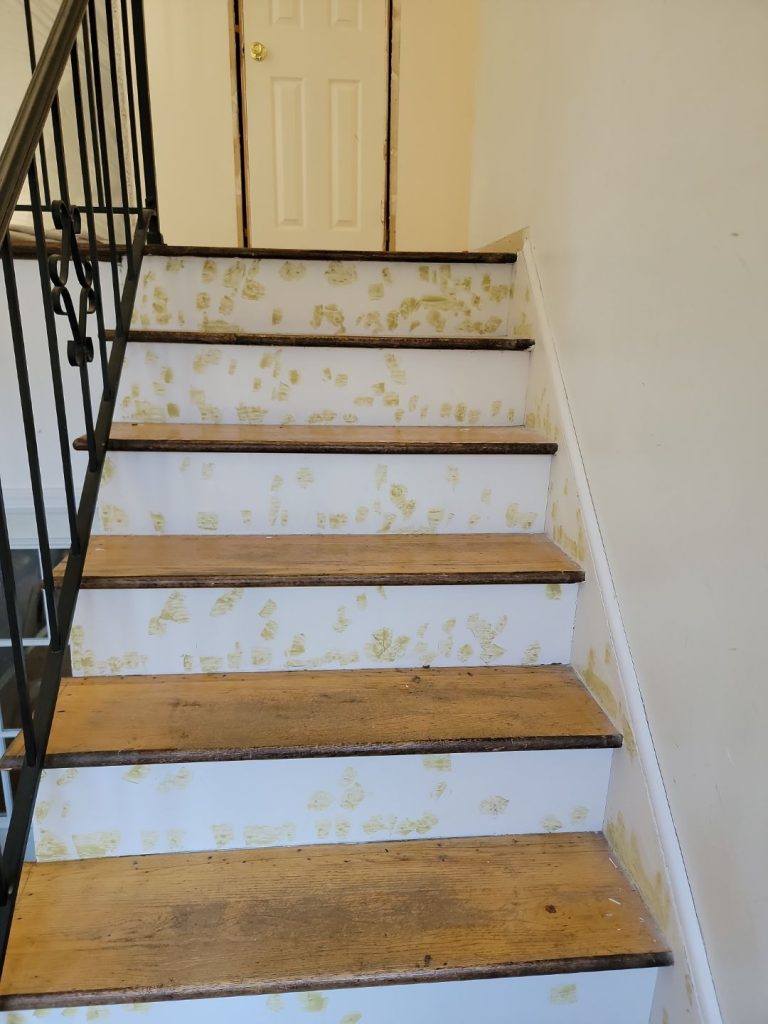
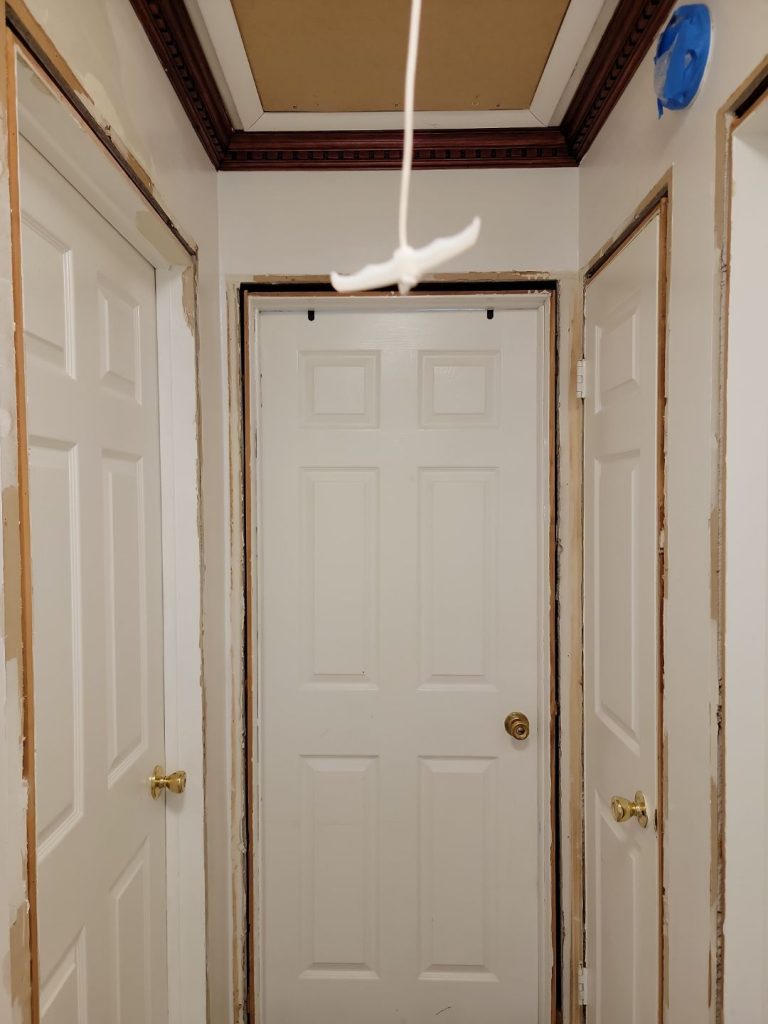
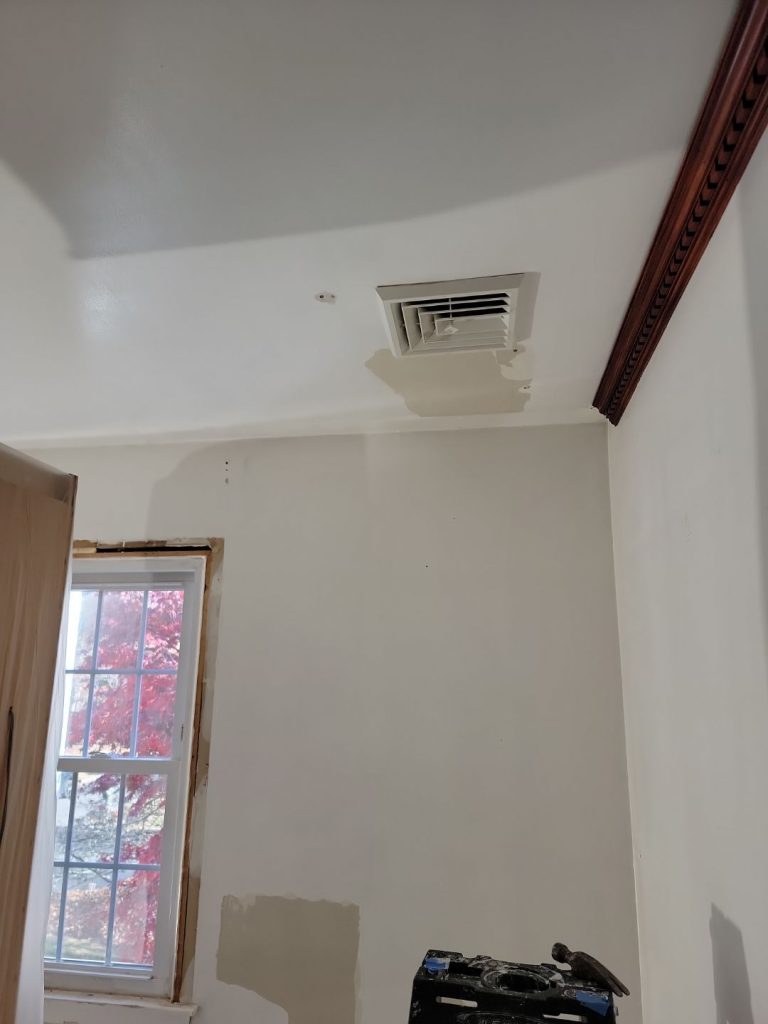

If you paint over loose or flaking material, it might look fine for a little while, but then it’s just going to start lifting off again.
In areas where the existing coating had separated from the wall, we took that compromised stuff out until we had a surface that we could count on.
It’s not the most glamorous part of the job, but trust us, it’s essential to do this right. You want to make sure those newly painted walls aren’t just going to start peeling off in a few weeks.
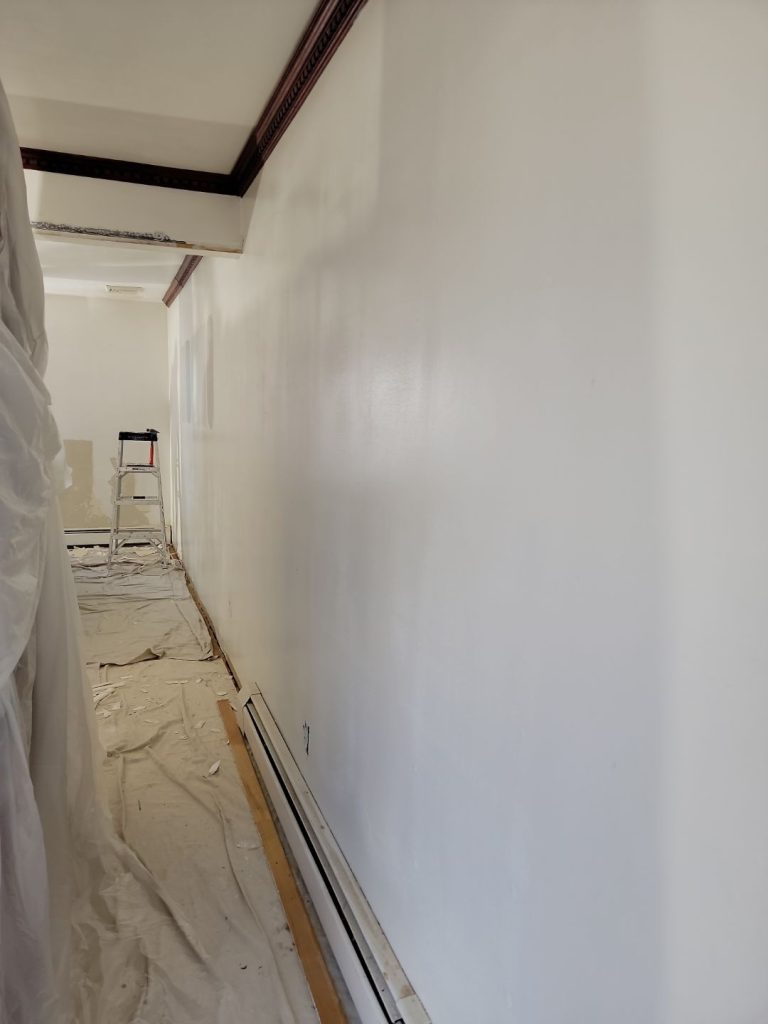
The amount of mess on the floors is a good indicator of just how much old stuff came off.
You want to get to a point where the walls are solid, not just slapping paint on top of something that’s going to fail.
Tidying Up the Window Areas
The window walls needed a lot of TLC.
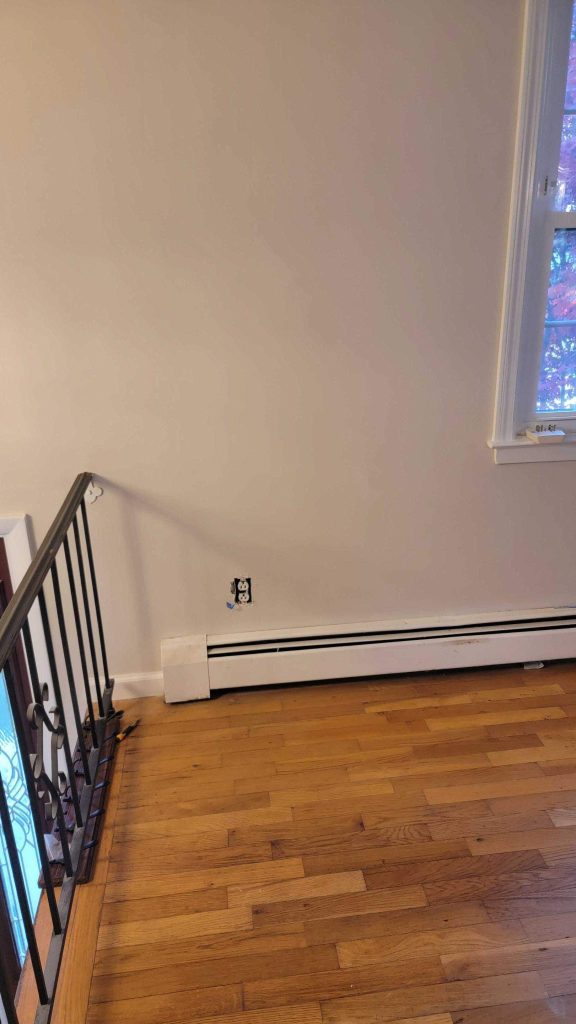
Several of the photos show the edges of the window units where the old casing or finish materials had been removed. You can’t just paint over those edges and hope they disappear.
The transition between the wall and the window had to be smoothed out, and the surrounding areas had to be prepped so the finished windows looked like they were meant to be a part of the trim work, not just slapped together as an afterthought.
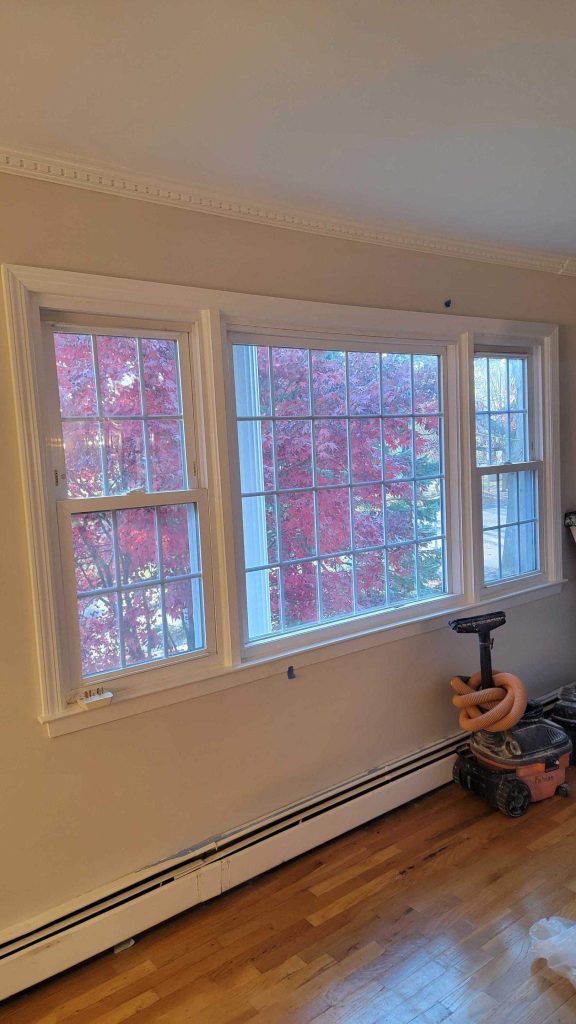
That’s actually one of the most dramatic before-and-after improvements in the whole project.
In the finished room, the patchwork areas are completely invisible, so you just see a big beautiful window wall, clean white trim, and a smooth, neutral wall finish.
That’s exactly what you want to happen when you do a repair job like this – the room looks great, and you forget all about the work that went into it.
Protecting a Home That’s Still Got People Living There

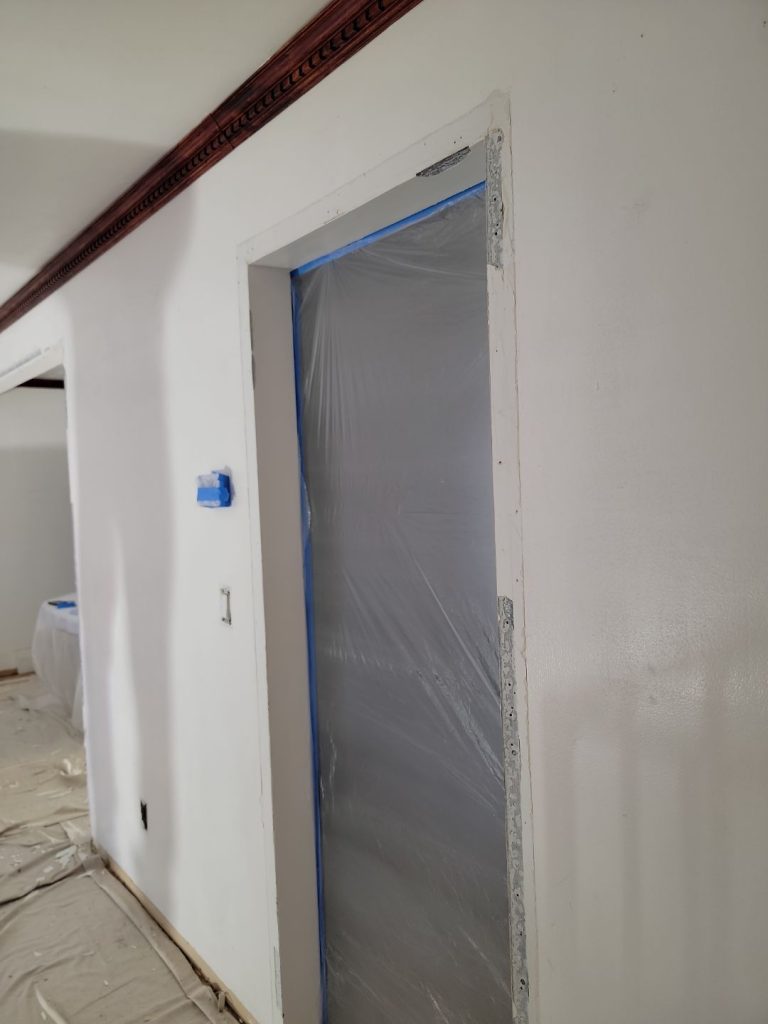
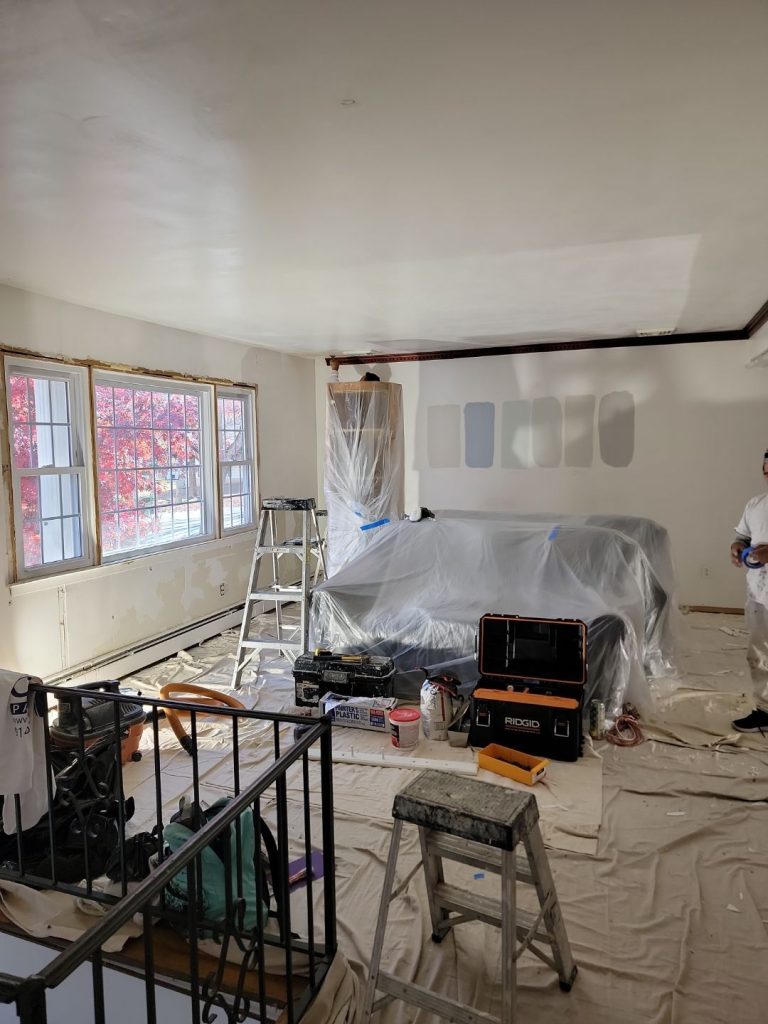
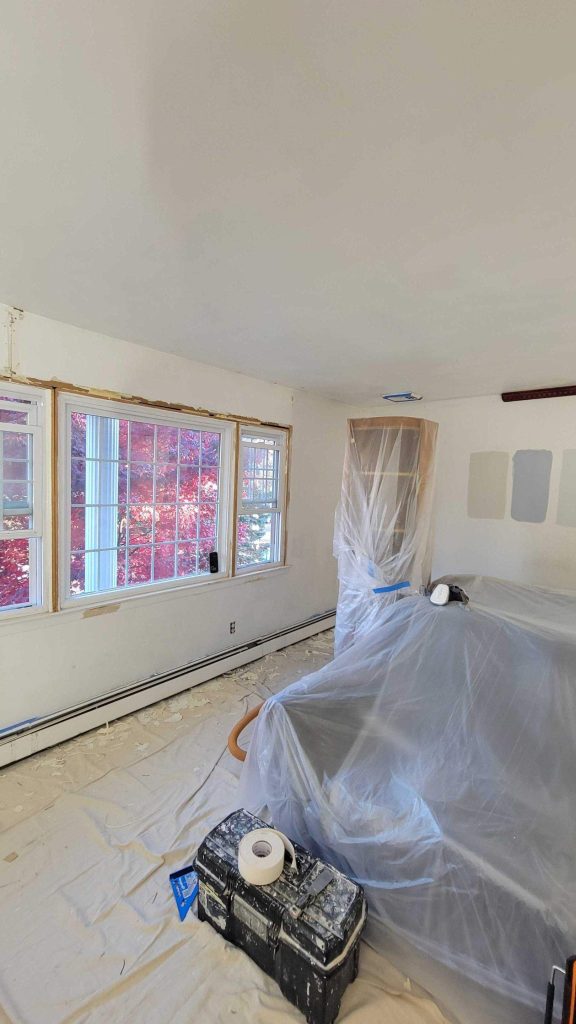
Another key part of this project was keeping the work area contained.
Since there was still furniture and fixtures in the house, we had to group the big stuff together and cover it with plastic. We covered the floors, wrapped the fixtures, and made sure anything adjacent to the work area was protected while we scraped, sanded, patched, and painted.
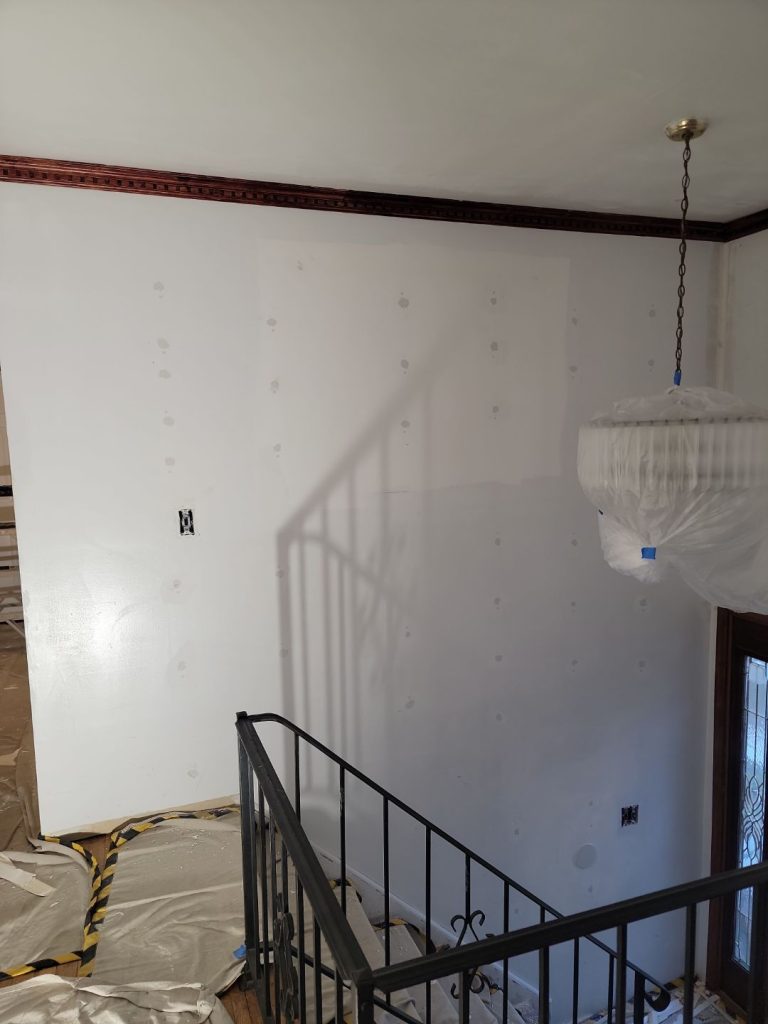

This was especially important because surface preparation created a ton of debris, and without proper protection, it would have spread all around the house.
The before-and-after photos show the difference between a painting project that’s a big mess, and one that’s actually been managed like a professional job.
Testing Out the Color Before Committing
One photo that caught our eye was the one where we tested several different neutral paint colors directly on the wall.
This might seem like a small thing, but it’s actually a big deal.
Neutral colors can change in really dramatic ways depending on the lighting, the flooring, the furniture, and even the direction the room faces. A gray might look blue under certain conditions, or a beige might start to look yellow. And what looks perfect in a small test patch might look way too bright or way too bland when it’s covering the whole wall.
By testing a bunch of different options right on the wall, we could see which one was going to work best for the space, rather than just relying on a tiny sample.
The final color we landed on was a warm, understated neutral that really works well with the natural hardwood floors.
The One Design Decision That Really Changed the Room
There was another change that really made a difference beyond the paint job.
The old dark crown molding around the rooms was creating a strong visual border that was really making the interior feel segmented.
In the completed space, with the new neutral wall color and a lighter treatment on the crown molding, it all feels so much more flowing and cohesive.
Before, the dark molding was kind of drawing your eye down and making the ceiling feel lower.
Afterward, with the lighter molding, the walls and ceiling just feel more connected, and the interior as a whole feels less chopped up.The architectural details are still a thing, but they no longer take centre stage.
A Main Living Area That Feels Like One Room
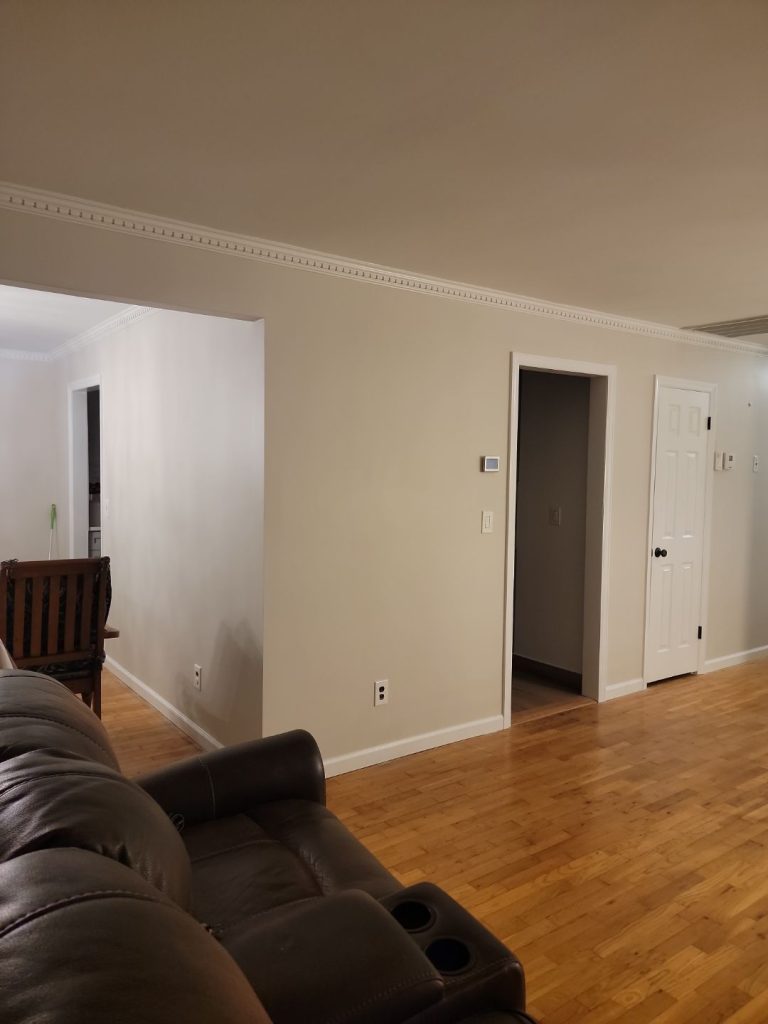
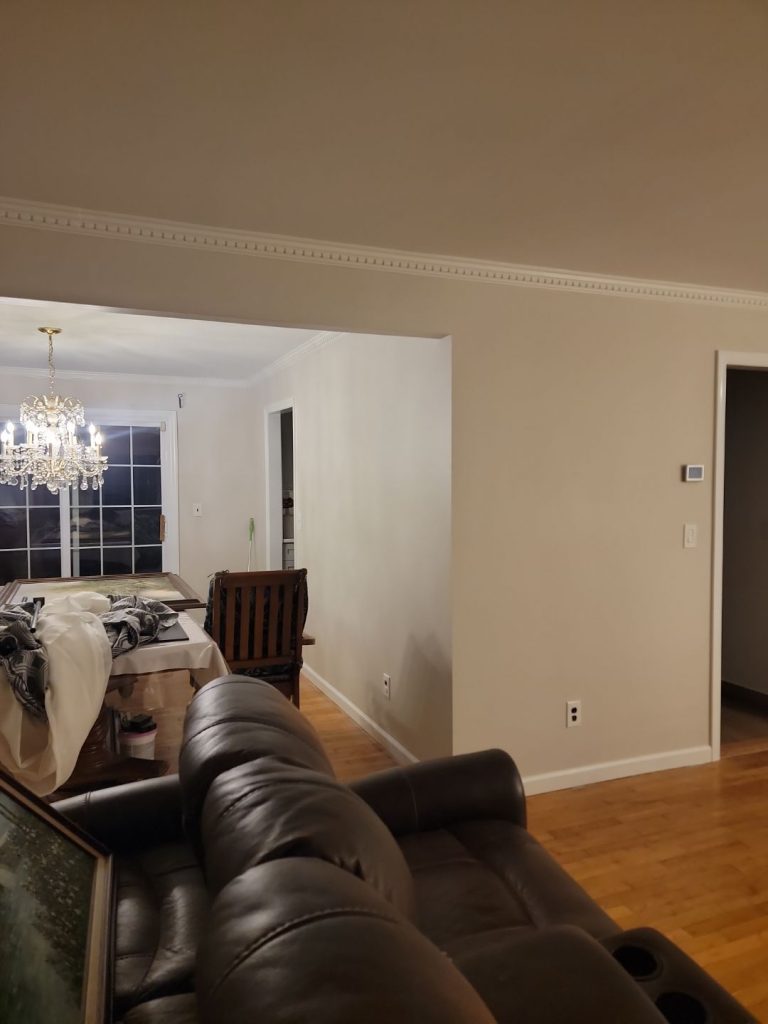
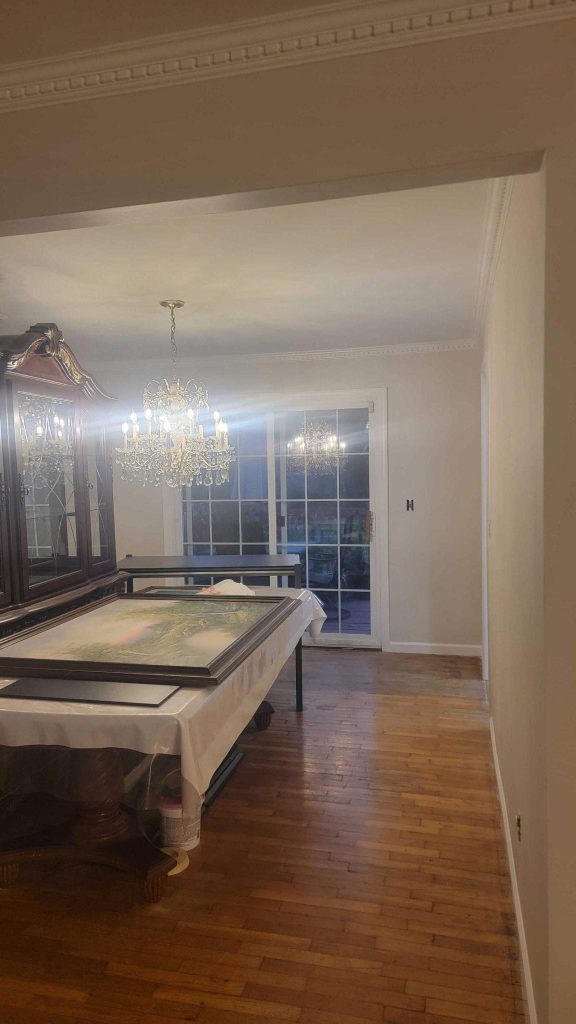
The finished living and dining areas show the difference that letting the wall colour fade into the background can make.
The warm hardwood flooring now provides almost all the natural colour in the room – it’s not fighting with anything else for attention.
The white trim helps to give definition around doors, windows, openings and crown molding – it creates a nice sharp edge.
The neutral walls provide a nice quiet background – no one feature is trying to shout over everyone else.
The bigger darker furniture pieces don’t look out of place against the brighter surrounding surfaces.
What you notice now is a room that just feels like one continuous space.
Why Hallways Matter – A Quiet-but-Important Transformation
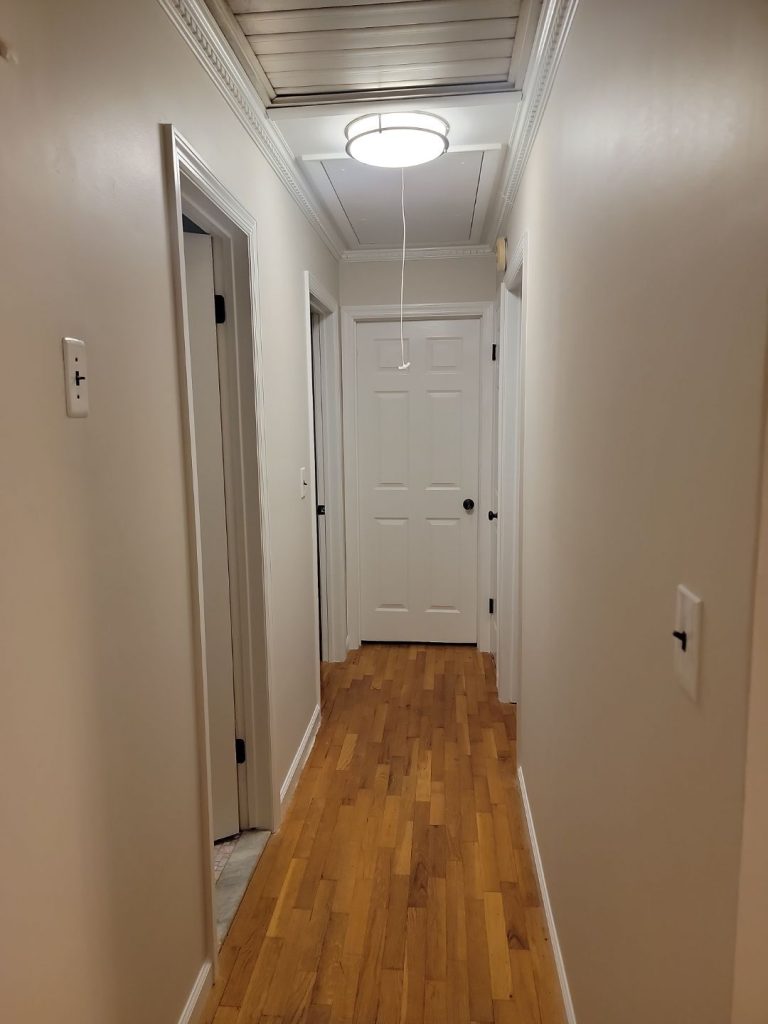
Hallways tend to get left behind when it comes to decorating, but they do so much more than just connect different parts of the house – they tie the whole place together.
The hallway in this New City project is a great example of why using a consistent paint colour really makes a difference.
The neutral walls, brand new white door casings, white doors, baseboards and a nice clean hardwood floor all work together to create a sense of flow and order.
There are no distracting bits of patchwork or jarring colour changes that pull the eye away from one door to the next.
The result feels really finished – it’s a hallway that you won’t even notice, because everything looks like it’s meant to be there.
Sometimes the best paint job is the one where nothing really stands out – because everything just looks like it belongs.
Getting the Entry and Stair Area On the Same Page

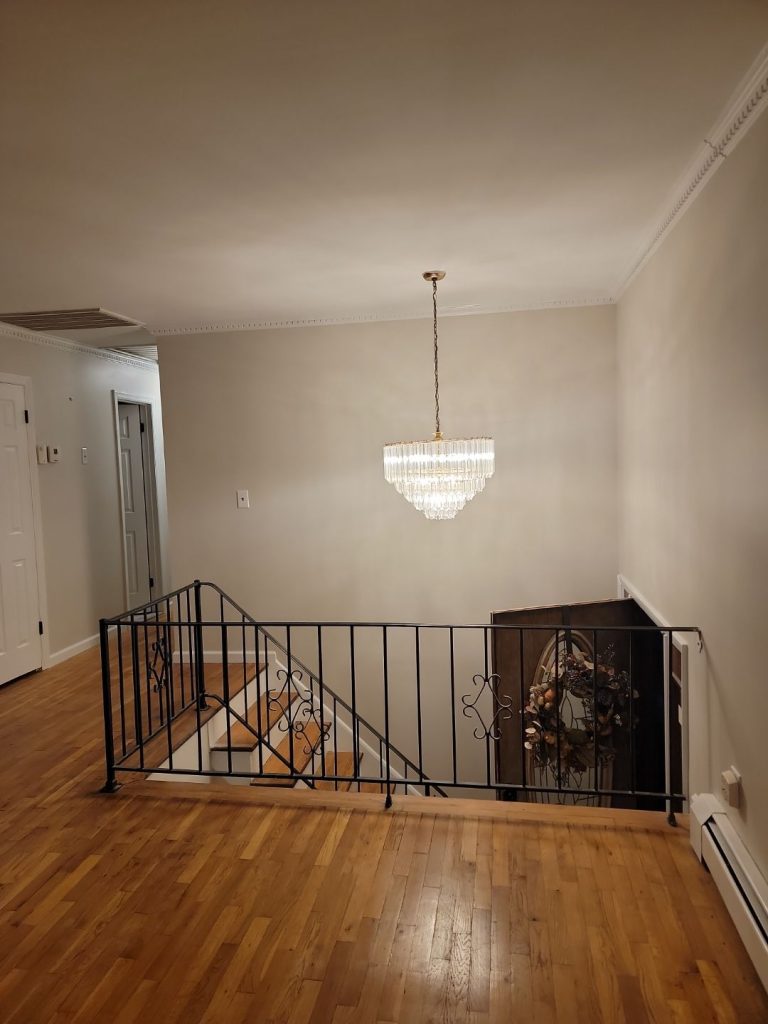
The entry and stair area have also benefited from the same gentle touch.
This area has all sorts of architectural bits and bobs – tall walls, a big light fixture, an open railing, hardwood flooring and lots of different transitions to the rooms around it.
Because the walls didn’t need to compete with all of that for attention, we could just focus on giving the whole area a nice calm backdrop.
The white molding helps create a nice clean edge at the top – and let’s the rest of the features in the room be the ones that grab your eye.
The Finished Home: When Repairs Just Disappear

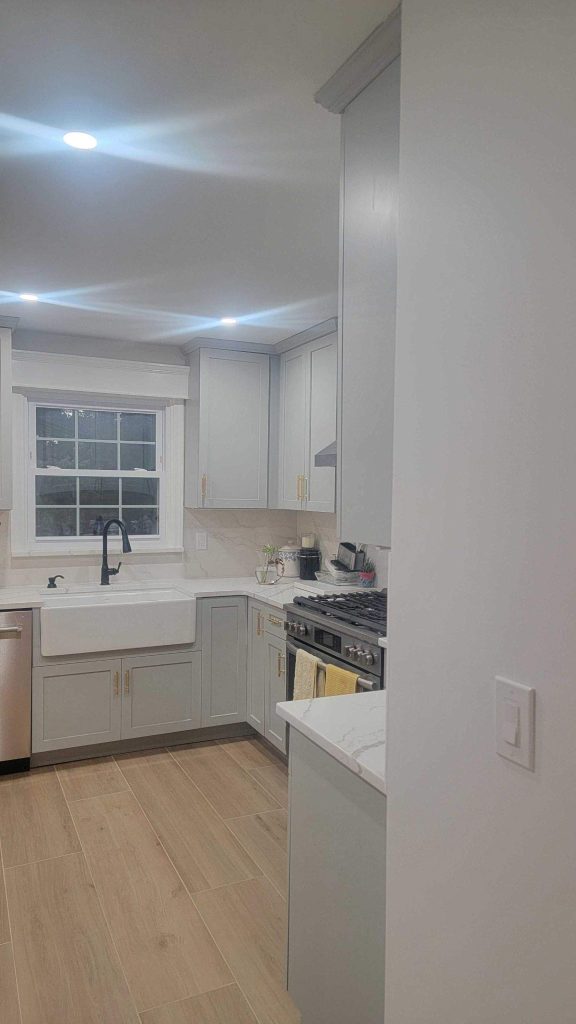
The real success story of this New City interior painting project isn’t that the walls look freshly painted – it’s that you’d have trouble even spotting where the most extensive repairs were.
The peeling bits around the windows are gone, the rough edges have been tidied up and the patchwork just melts away.
The crown molding looks brighter than ever and the different rooms all share a nice consistent look.
And the original hardwood floors look fantastic against the lighter interior.
That’s what all the prep work is really for.
Lesson Learned – Peeling Paint is More Than Just a Pain to Paint Over
When you see peeling paint, the first instinct is often to just slap on a new coat.
But peeling paint is a sign that something is seriously wrong – the existing layer has lost its connection with the surface beneath it.
Slapping a new layer on top doesn’t fix that – it’s just going to stick to the failing layer instead.
For homeowners in New City and around Rockland County, the key part of a paint job is actually the prep work – you need to identify and fix any loose bits, smooth out the transitions and get the surface in decent nick before you even start painting.
This project is a great example of why getting the surface right is just as important as picking the right paint colour.
A Home That Feels Updated But Doesn’t Look Overdone
The homeowners didn’t need to go for bold accent walls or some complicated colour scheme to make a real difference.
Just a nice consistent paint colour – soft and neutral, with bright white architectural details.
Cleaner transitions around the windows and doors, nice restored walls and some gentle restored colour.
The result feels really modern without being too on-trend – and that makes it all feel a lot more liveable in the long run.
Interior Painting in New City
If your walls are looking a bit rough – peeling, patched, uneven or just generally old and tired – then a paint job might need a bit more than just a new colour.
Our approach to interior painting in New City starts with the surface itself – we prep the damaged bits, protect the rest of the house, tidy up the transitions and then apply the finished coat that brings it all together.
It’s all about the prep work making the paint job look a lot better than it would have otherwise.
Contact us to schedule an estimate for a proper interior painting job in New City and throughout Rockland County.