
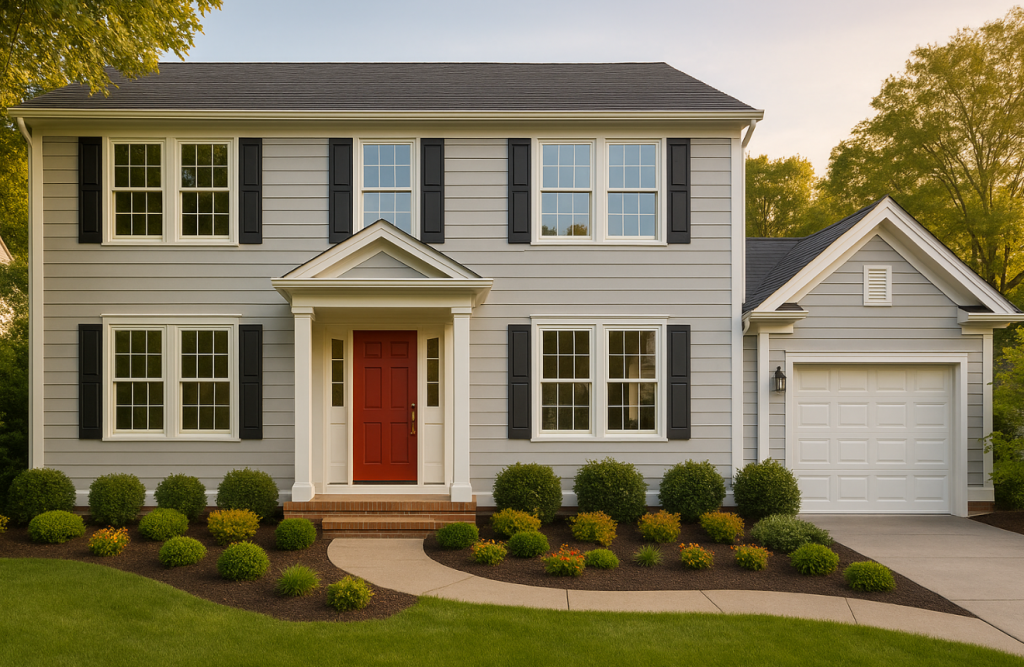
House Painting in East Hampton, NY: Winter Painting & Maintenance Lessons
Wednesday, January 27th, 2026
Painting the outside of a house can completely transform its look in the blink of an eye. But our recent house painting project in East Hampton, NY really drove home a lesson to me – that the quality of a paint job is determined way before the final coat goes on.
Especially this week it seems pertinent.
We just got out of a decent size January 25-26 winter storm here on Long Island, including East Hampton. According to the National Weather Service, moderate to heavy snowfall was reported across the region with around 8-13 inches of snow and sleet near the coast.
For homeowners, a snow like this does more than just make the yard look pretty – when it melts, it also reveals some very important things about the exterior of your home.
Our recent painting work in East Hampton has been a real teaching opportunity about what we should be paying attention to – even if your next exterior painting project wont even start till warmer weather.
January is the time for Inspection, Not Just playing the waiting game
Most people naturally think about exterior painting in the spring or summer.
That makes sense. But winter is actually a super useful time to determine how well your house is holding up once painting conditions are right.
Now, walk around your property and take a close look at painted surfaces. They may not be in bad shape at all.
It’s often the small changes that are the most telling. If paint is beginning to come off along a trim board, if the coating has worn thin in certain areas, if there’s cracking around windows, or if there are areas that just stay damp and soggy then those could all be early warning signs.
The mistake is waiting till the peeling gets bad. Paint is about more than just looks. On many exterior wood surfaces, a well-done and well-maintained coating helps the house stay protected from the elements.
How East Hampton’s Unique Conditions Affect Painting Jobs
Painting in East Hampton presents a different challenge than painting in an inland area.
Homes here are exposed to moisture, wind and changing seasonal conditions. Winter brings freezing temperatures and storms and warmer months bring humidity, strong sun and coastal weather.
That’s why prep work is so crucial.
If paint is applied over a surface that hasn’t been properly prepped, or if you’re painting over a previous coating that was a disaster, or if there’s still moisture issues lurking beneath the surface then you’re going to have a job that fails way earlier than you want it to.
A better approach is to ask: why did the previous coating fall apart in the first place?
That’s a way more useful question to ask than just wanting to know what color you should paint it next.
Lesson #1: Peeling Paint Is Usually a Symptom of a Bigger Problem
Homeowners often see peeling paint and just want to scrape the loose bits off and call it a day. Sometimes that works for a little while.
BUT peeling can result from several things, like the old paint being too old, not having taken the time to properly prepare the surface, or because moisture is seeping behind the paint film, or even because the old paint didn’t adhere well, or the old substrate wasn’t properly primed.
So the loose paint is only a symptom. To fix it right you need to remove the bad material, then repair it, then properly prep it and prime it before you even start the finish coats.
It’s not about covering up the problem for a season. It’s about giving the new paint a good base to stick to.
Lesson #2: Prepping is Part of the Painting Job
One of the best ways to tell if you’ve got a pro doing your house painting, or if it’s just someone who slapped on a coat or two is to look at what happens before they even open the paint can.
Prep work might involve cleaning off grimy surfaces, scraping off bad paint, sanding down rough edges, fixing up little chips or cracks, addressing any bad caulk, and priming any areas that have been repaired.
Those steps aren’t something extra – they’re part of the painting process. On a house with lots of details like windows and trim and whatnot, prep work can be a big job.
But that prep work is what determines whether the finished product looks like a newly painted surface or just a hastily re-coated one. Our recent East Hampton project really drove this point home.
Lesson #3: Do not Rush Exterior Painting After Winter
We’ve all been there – early March and it’s 60 and sunny and you’re itching to get out the ladder and paint that house!
But hold on just a minute. Temperature isn’t the only thing to consider. Moisture levels, overnight temps, rain, drying conditions and even the paint manufacturer’s requirements all play a part.
Wood that looks dry may still have moisture trapped inside. Shaded areas can be totally different from areas that get direct sun.
That’s why planning ahead rather than just taking the first warm day is the way to go. Taking a few extra days to wait for the right conditions can be so much better than rushing a coating onto a surface that’s not ready yet.## The Snow Melted – Now’s the Perfect Time to Take a Closer Look at These Five Key Areas
After the January weather has settled in and the conditions are safe, get out there and take a quick peek around the outside of your property. A simple visual inspection will do the trick.
Pay close attention to window and door trim, fascia, roofline trim, south- and west-facing elevations, lower siding near landscaping or grade, and joints where different materials meet. You don’t even need to climb a ladder to do it – a good ground-level inspection will give you a good idea of where to focus next.
Any sign of discoloration, cracking, peeling, separating caulk, exposed wood, mildew-like staining or just general ‘things don’t look right’ symptoms is worth taking note of.
Take some snaps on your phone of anything that catches your eye – and don’t worry about it right away. You’ll be grateful for those photos come springtime when you’re looking at tackling those pesky repairs.
What You Need to Know About Painting and Wood Details in East Hampton
East Hampton has a pretty unique architectural character, with lots of homes sporting natural and painted wood elements. And it’s worth taking a more thoughtful approach when dealing with those classic details – rather than just slapping on a fresh coat of paint.
The Town of East Hampton has a historic preservation program, which is worth noting for any properties that are designated as historic. The local guidelines for historic properties really stress the importance of keeping the finish and colors consistent with the building’s original era and style.
And let’s be real, exterior painting isn’t just about maintenance – it’s also about style and design.
For folks with a non-historic home, changing up the color might be a piece of cake. But if you’re dealing with a home that’s listed or is just particularly special, you’ll want to make sure you’re following all the right rules before making any major changes.
A More Useful Question Than “What Color Should We Paint It? “
Color is usually the fun part of planning a painting project. But it shouldn’t be the first question on your mind.
Instead, try asking yourself these four: What condition is the surface in? Where is the existing paint starting to crack? Are there any moisture or repair issues that need to be addressed first? Which architectural details should we preserve or highlight?
Once you’ve got a handle on those questions, color selection gets a lot easier.
And honestly, the right palette should be working with your roof, masonry, windows, landscaping and architectural style – not trying to fight them.
Winter is the Perfect Time to Start Planning Your Spring Painting Project
January 27 might seem like an awfully early time to start thinking about painting your house. But trust us, it’s actually a great idea.
You can get out there and inspect your conditions now, identify what needs fixing, review your color options, get priorities straight and start planning before the spring painting schedules get all backed up.
And while you’re at it, you might be able to figure out whether the whole exterior needs repainting or just a few bits and bobs.
This can save you a lot of unnecessary work in the long run.
More importantly, planning ahead can prevent that awful scenario where you’re stuck with a big peeling or repair job and you expect the whole project to start immediately. Not great.
What We Learned on Our East Hampton Project
And every house painting project teaches us something new. On this East Hampton project, the lesson was pretty simple: the finish may get all the attention, but it’s the prep work that really makes the difference.
A good paint job is all about complementing the architecture, creating clean transitions between surfaces and giving the home a nice, maintained look without the paint being the only thing you notice.
And that requires patience – you can’t just rush in and do things half-heartedly.
It also means choosing the right approach for each surface, rather than treating the whole house as a giant wall.
And if you’re in a place like East Hampton, you need to understand that local weather and architectural character are going to play a part in the project.
Need Help Planning Your House Painting Project in East Hampton, NY?
If this week’s snow has got you taking a closer look at your siding, trim or painted surfaces, you don’t need to wait until it’s all peeling and falling off before getting started.
CET Painting is here to help with house painting in East Hampton, NY – from careful prep work to interior and exterior painting, trim work and complete residential repainting.
Whether your home needs a complete transformation or just a nice, fresh coat of paint, the first step isn’t about choosing a color. It’s about understanding what the surface needs. And then, and only then, can you start building the paint job.